What Is Figma Used For? (And How You Can Learn It Now)

Stuck in Figma?
AppHug gives you live guidance inside Figma so you can do more, faster.
Try it for free↗Learn what Figma is used for, how to use Figma effectively, and why AppHug is the fastest way to learn design without endless tutorials.
TL;DR
Figma is a free, browser-based design tool for creating UI/UX designs, prototypes, and marketing visuals. It's beginner-friendly with drag-and-drop features and real-time collaboration. Perfect for designing mobile apps, websites, and marketing materials. The learning curve includes mastering Auto Layout, components, and responsive design, but there are plenty of templates and resources to help you get started.
By the way, we're AppHug. We built a free personal AI assistant that helps you navigate complex tools.
If you often get stuck or need to learn new tools, check out AppHug. It gives you real-time, step-by-step help based on your screen, saving you time and frustration.
Whether you're a beginner designer, startup founder, or digital marketer, chances are you've heard about Figma. This guide will show you exactly what it's for and how to use it effectively to get started as quickly as possible.
Figma in a Nutshell
Figma is a free, browser-based design tool built for user interface design, prototyping, and collaboration. It works directly in your browser, so there is no software to install. You can use it to design mobile apps, landing pages, marketing visuals, and much more.
Real Use Cases for Figma
Figma is used by professionals and beginners alike to create and manage a variety of digital assets. Here are just a few examples:
- Designing UI and UX for mobile and web apps
- Creating prototypes for user flows and features
- Collaborating on design systems with a team
- Building pitch decks and marketing visuals
- Exporting assets for developers
Because it is collaborative and real-time, Figma has become a go-to tool across product, marketing, and design teams.
Is Figma Easy to Learn?
Yes, Figma is easy to learn and one of the most beginner-friendly design tools available.
Its clean interface, browser-based access, and drag-and-drop features make it a great starting point for anyone new to design. You can sign up and begin designing without installing anything or dealing with complex setup.
Still, like any creative tool, Figma comes with a learning curve. Beginners often get stuck on things like:
- Aligning and distributing elements
- Creating reusable components
- Understanding how Auto Layout works
- Setting up frames and responsive layouts
- How to add fonts to Figma
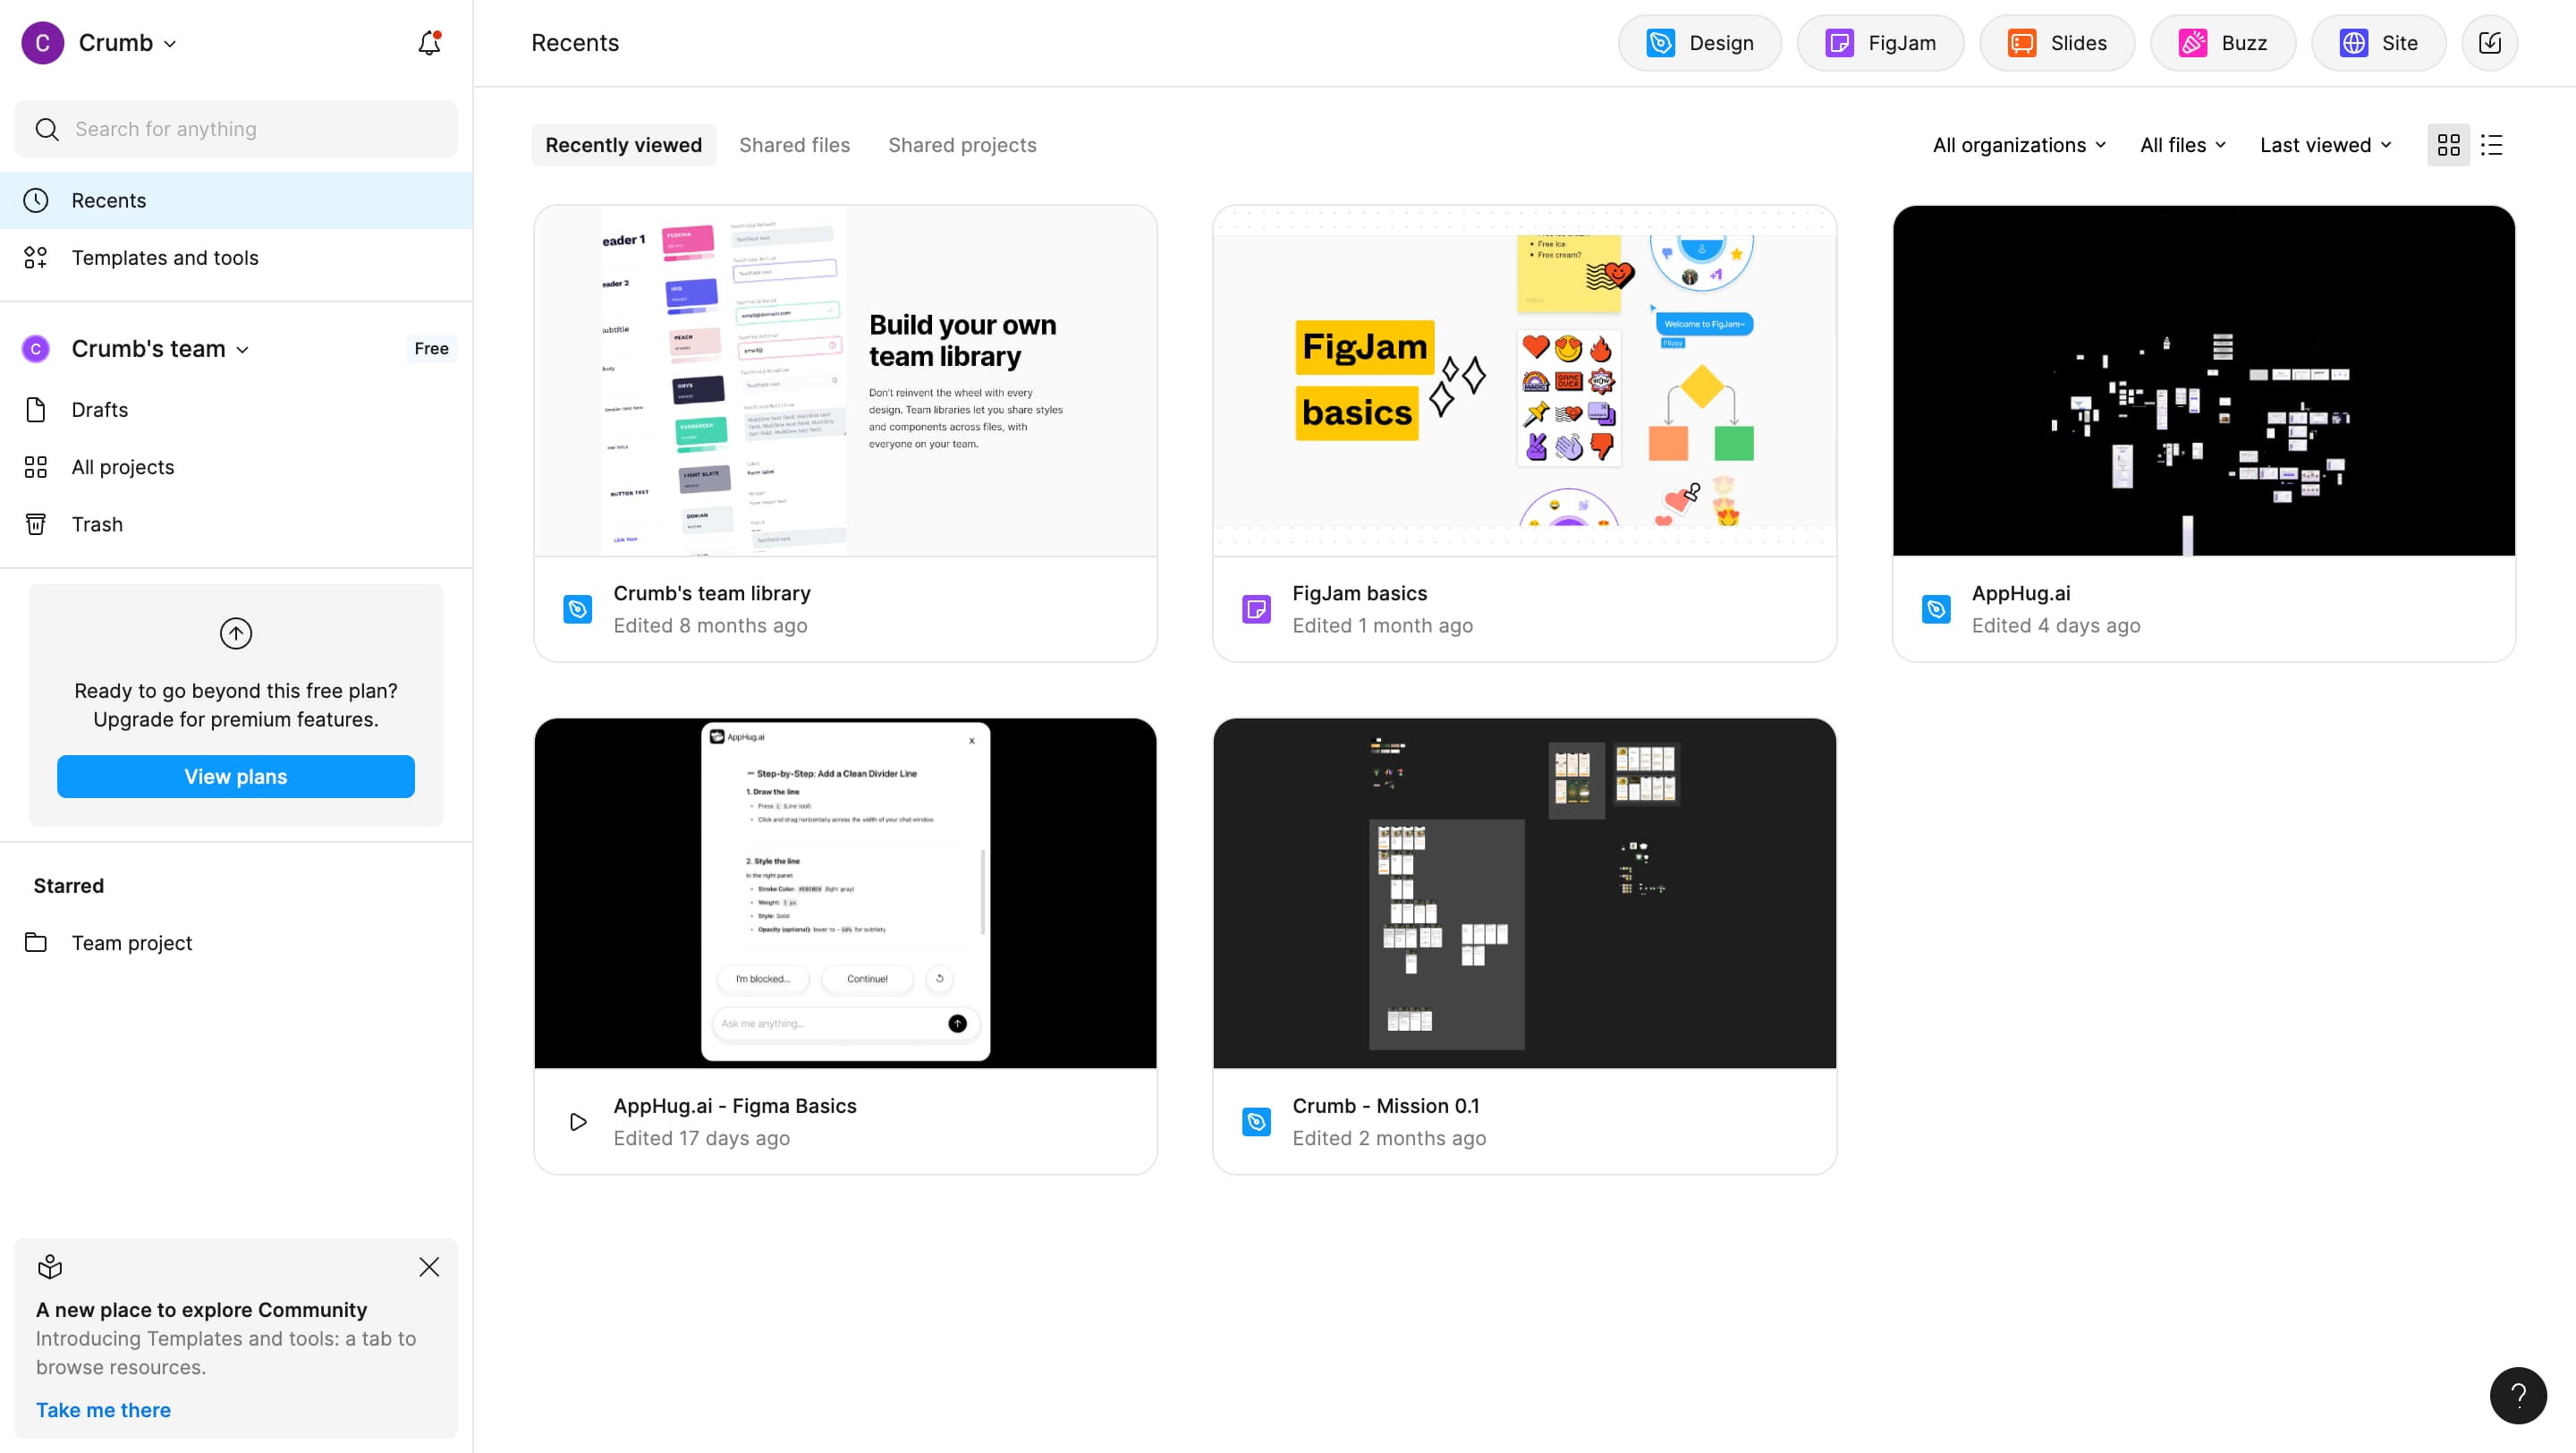
Fortunately, there is a large library of templates, public design files, and community-made resources that make it easier to learn. You can duplicate existing files, experiment with layouts, and learn by tweaking real projects.
If you're just starting out, focus on a small project like a landing page or mobile app screen. This will help you build practical skills step by step, without getting overwhelmed.
How to Use Figma: The Basics
Getting started with Figma is easier than you think—especially with the right approach.
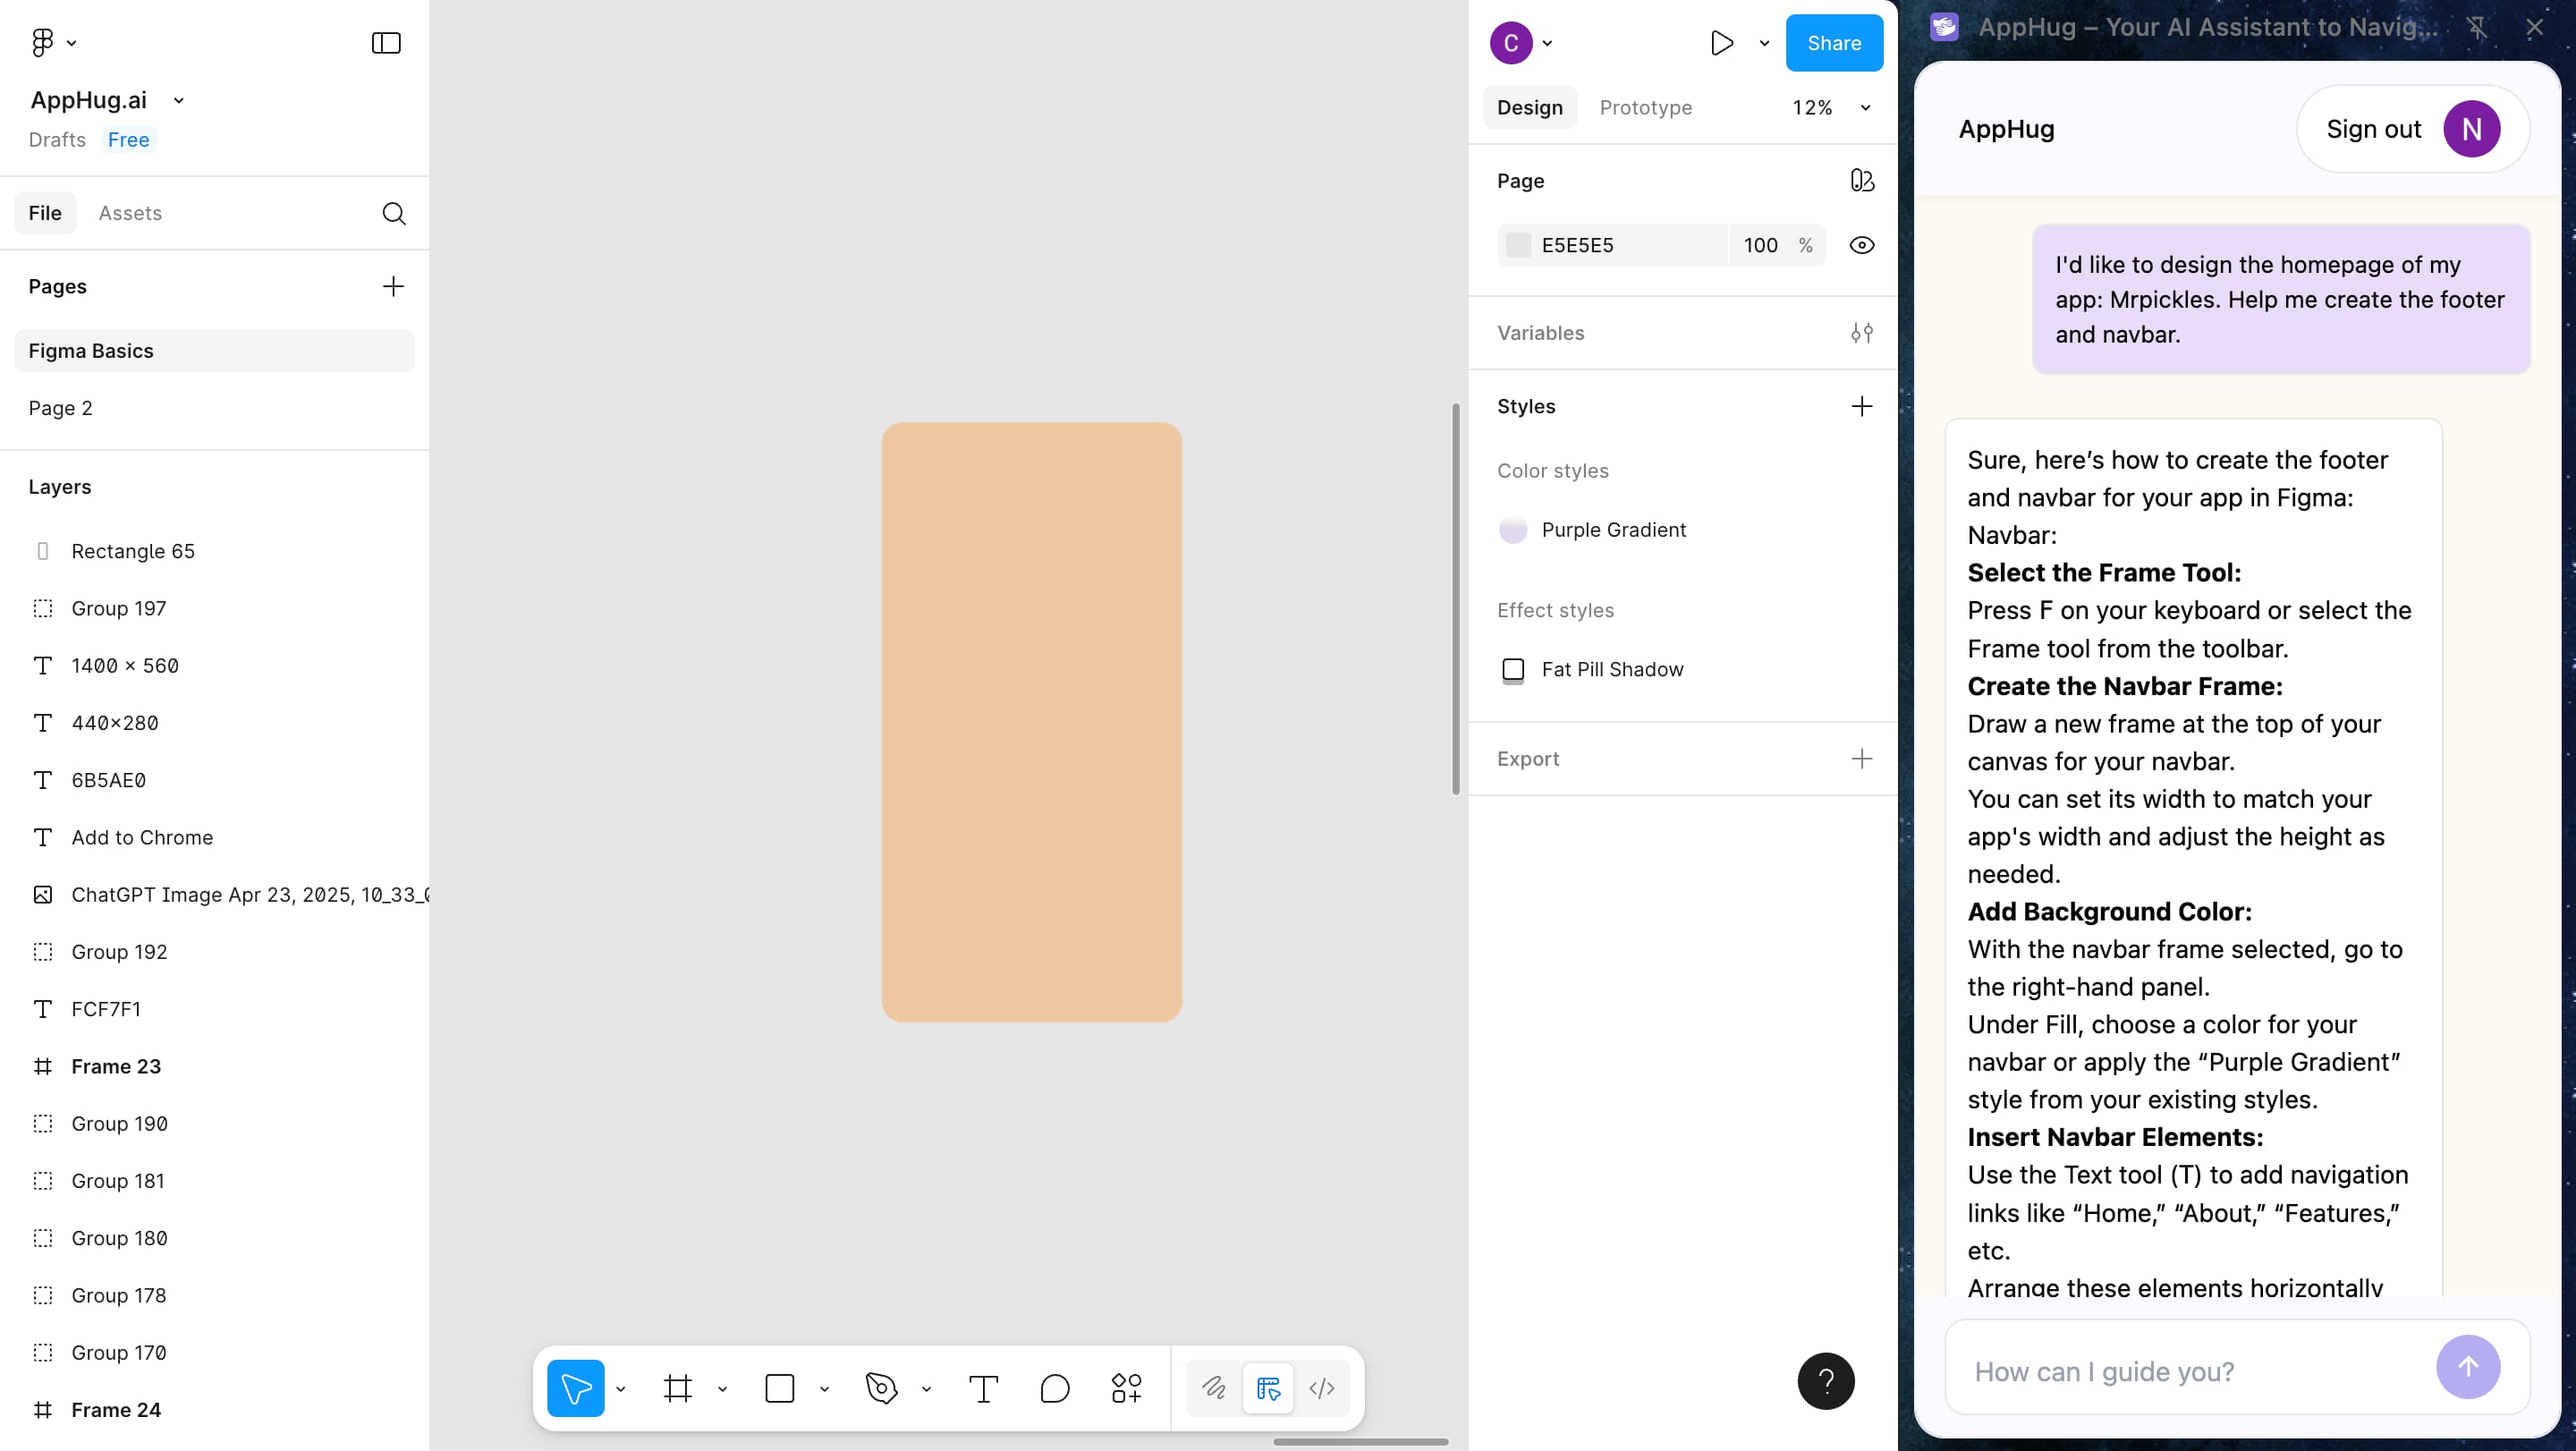
Need a hand while you learn? Our personal AI assistant, AppHug, gives you real-time guidance inside any tool, so you can design faster and stay focused.
1. Create a New File
- ✅ Easy: Open figma, sign in, and click "New design file."
- ⚙️ Medium: Rename your file and set up a mobile frame (375×812).
- 🚀 Hard: Create a second page and organize your project into pages like "UI" and "Components".
2. Add Shapes and Text
- ✅ Easy: Use the shape tool to add a rectangle and change its color.
- ⚙️ Medium: Add a text heading like "Welcome to my app" and adjust font and size.
- 🚀 Hard: Align text and shapes together, then group them into a section.
3. Create Reusable Components
- ✅ Easy: Design a simple button with a rectangle and text inside.
- ⚙️ Medium: Turn it into a component and name it "Primary Button".
- 🚀 Hard: Create a component set (e.g. default, hover, pressed) using variants.
4. Apply Auto Layout
- ✅ Easy: Select a group and click "+ Auto layout" in the right panel.
- ⚙️ Medium: Adjust padding and spacing between elements inside the layout.
- 🚀 Hard: Nest Auto Layouts to build a responsive card or footer section.
5. Share and Export
- ✅ Easy: Click "Share" and invite a friend or teammate to your file.
- ⚙️ Medium: Export a frame as PNG and SVG with transparent background.
- 🚀 Hard: Create export presets for multiple screen sizes.
Stuck in Figma?
AppHug gives you live guidance inside Figma so you can do more, faster.
Try it for free↗